
On this page, useful info is gathered for the usage of minion.private.ugent.be.
Server Specs
- RAM: 64 GiB (max: 64 GiB) DDR3-1600 RDIMM
- CPU: 12 cores – 24 threads
- HDD: 8 TB (/home)
- SSD: 4TB (2.8 TB system | 1.1 TB /tmp)
- OS: Ubuntu 20.04 LTS (Focal Fossa)
Info on recent server usage can be found on http://www.kennybogaert.eu/servers/.
Installed Software
Note: This inventory is incomplete
Additional packages:
- MinKNOW
- mothur v.1.44.3
- uchime 4.2
Login SSH
First, connect to the UGent network via VPN connection or cable.
*Windows users:
Windows users may install a free client as alternative. (https://mobaxterm.mobatek.net/)
*Linux users:
connect via ssh to minion.private.ugent.be on linux:
ssh username@minion.private.ugent.be
scripts can be run in the background using nohup
nohup command &
nohup command >/dev/null 2>&1 & # creates no nohup.out
Or when programs with a graphical user interface need to be loaded (Rstudio, CLC genomics, ..)
ssh -X username@minion.private.ugent.be
Optional (modify your path) :
Filetransfer
A. Commandline (only UNIX):*
VIA SCP
-Copying file to host:
scp /some/local/file.txt username@minion.private.ugent.be:/some/remote/directory/
-Copying file from host to local directory:
scp username@minion.private.ugent.be:/some/remote/file /some/local/directory/
-Copying directory from host
scp -r user@minion.private.ugent.be:/some/local/directory/ /some/local/directory/
B. GUI
VIA FILEZILLA or other FTP client* host: minion.private.ugent.be
user: yourusername
password: youraccountpassword
port: 22 *Windows users can also install WinSCP (https://winscp.net/eng/download.php), a free FTP and SCP client.
VNC
Usage of VNC server is not encouraged. The server/work station is being used as for MinION sequencing and many parallel server sessions may take up much of the needed RAM memory.
Virtual Network Computing (VNC) is a graphical desktop sharing system that to remotely control another computer. On Django a VNC session will start the xfce4 desktop as a graphic user interface. When you close your VNC viewer on your local desktop all programs will keep running on the server and your server session remains the same when you login the next day.
RealVNC: install vncviewer from realvnc or tigervnc https://www.realvnc.com/download/viewer/
https://github.com/TigerVNC/tigervnc/releases
1. connect via ssh to django.ugent.be on linux:
ssh username@minion.private.ugent.be
on windows: use putty (http://www.chiark.greenend.org.uk/~sgtatham/putty/download.html)
2. Once logged in, start a vncserver session on the server using the following command:
vncserver -localhost no :an_available_vnc_number

or

vncserver -localhost no
In the last case you will have to deduce your port number from the output:

(For some vncviewer versions you might want to adapt your screen resolution)
vncserver -geometry 1600x1200 :an_available_vnc_number
Please note: a vncserver session takes up a considerable amount of RAM memory. Please check you do not run multiple vncserver sessions with:
vncserver -list
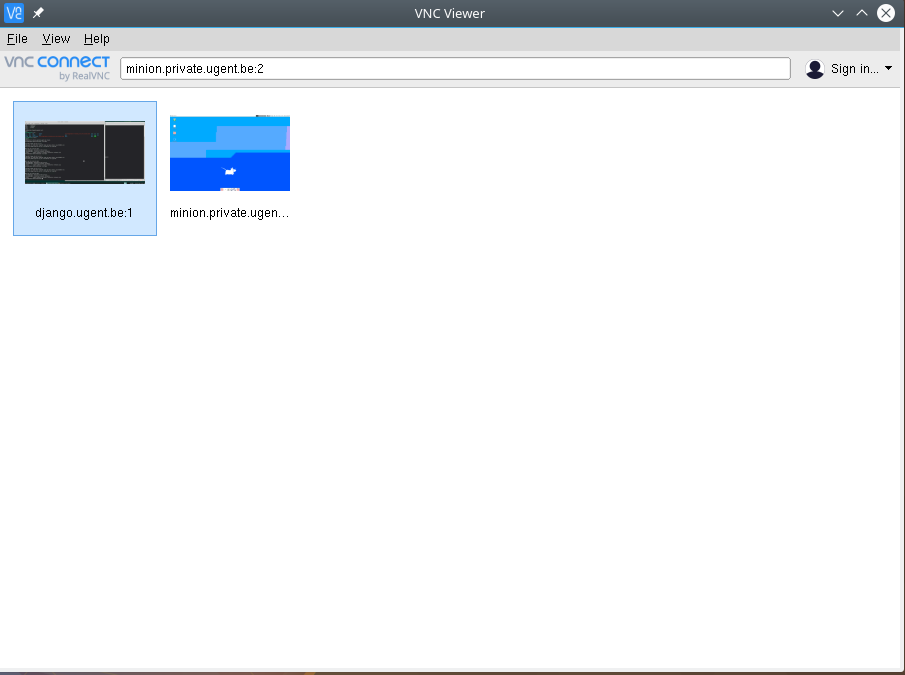
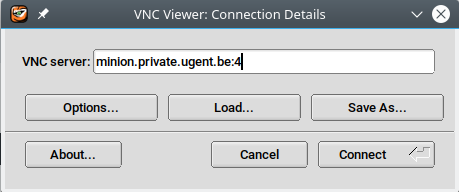
3. connect using vncviewer on your own laptop (with vpn connection on or while on the ugent network)
Please type the server adress with port:
minion.private.ugent.be:yourvncnumber
- using realvnc:
- Or using tigervncviewer (https://tigervnc.org/):
RealVNC: enter or double click
Tigervnc: push “connect”
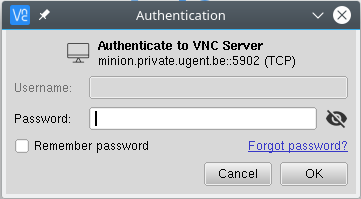
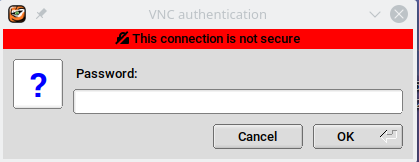
Fill in your password
Problem 1: If you get a grey or a black screen, please check first if you have multiple vncserver sessions running already. (eg. ps -ef | grep “vnc”) If so, kill all of them and launch a new session.
Problem 2: In case you are not able to launch a vnc session and you get an error message telling you there is session running, there is probably already a VNC session running on that port… Try to kill it.
vncserver -kill :an_available_vnc_number
If it tells you, you don’t have the right to kill it or it doesn’t find the .pid file, it probably is launched by another user. You can check all vncsessions running (and their ports) for example with the command:
ps -ef | grep "vnc"
Hard drive usage:
IMPORTANT: The server only can provide temporary working space! Please use a data server (eg. Ornette, UGENT shares …), cloud servers (eg. UGent One Drive,..) or external disks.
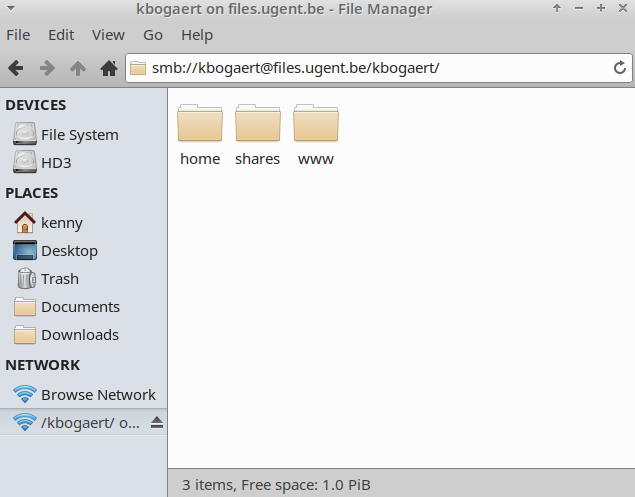
If you want direct access via your vncsession from django to the UGENT share(s) of your research group in order to directly transfer files for storage:
1. Open File manager and browse to: smb://<yourUGENTusername>@files.ugent.be/<yourUGENTusername>/
2. Fill in when requested for workdomain and password:
– workdomain: UGENT
– Password: your ugent password
Please note: you don’t need to fill the password and username of your django account, but that of your ugent account You will get access to your ugent shares in your vncsession:
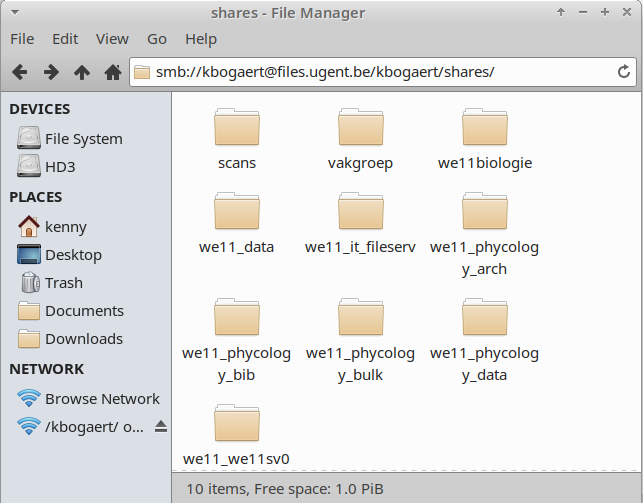
3. Click on the folder shares
Extra notes for specific program and pipelines
Decona (v0.1.1)
If it is the first time you use conda:
export PATH="/opt/miniconda/bin:$PATH"
Follow the instruction and configure your conda for bash. Reconnect using ssh or start a new terminal.
Anytime you want to use decona after installation with Miniconda, you’ll need to reactivate your decona environment using this command:
source activate decona
To leave the conda environment:
conda deactivate